




1. Introduction: The Critical Importance of Waterproofing
Protecting structures against water intrusion is not only essential for maintaining structural integrity but also for ensuring a healthy and comfortable indoor environment. Over time, water penetration into reinforced concrete can lead to reinforcement corrosion, carbonation, surface deterioration, and weakening of load-bearing elements.
Additionally, moisture-related issues such as mold and mildew negatively affect indoor air quality and pose health risks. Therefore, waterproofing should be considered a fundamental engineering requirement that extends the service life of structures, reduces maintenance costs, and enhances user comfort.
2. Waterproofing Approaches: Positive vs. Negative Systems
Waterproofing systems are generally categorized into two main approaches:
Positive Side Waterproofing: Applied on the exterior surface where water originates. It is considered the most effective and permanent solution.
Negative Side Waterproofing: Applied from the interior surface where water penetrates into the structure. It is typically used when exterior access is limited or impossible.
Negative systems do not always prevent water from entering the structural element itself but are designed to stop water from reaching interior spaces and to create a resistant internal barrier.
3. What is Negative Side Waterproofing?
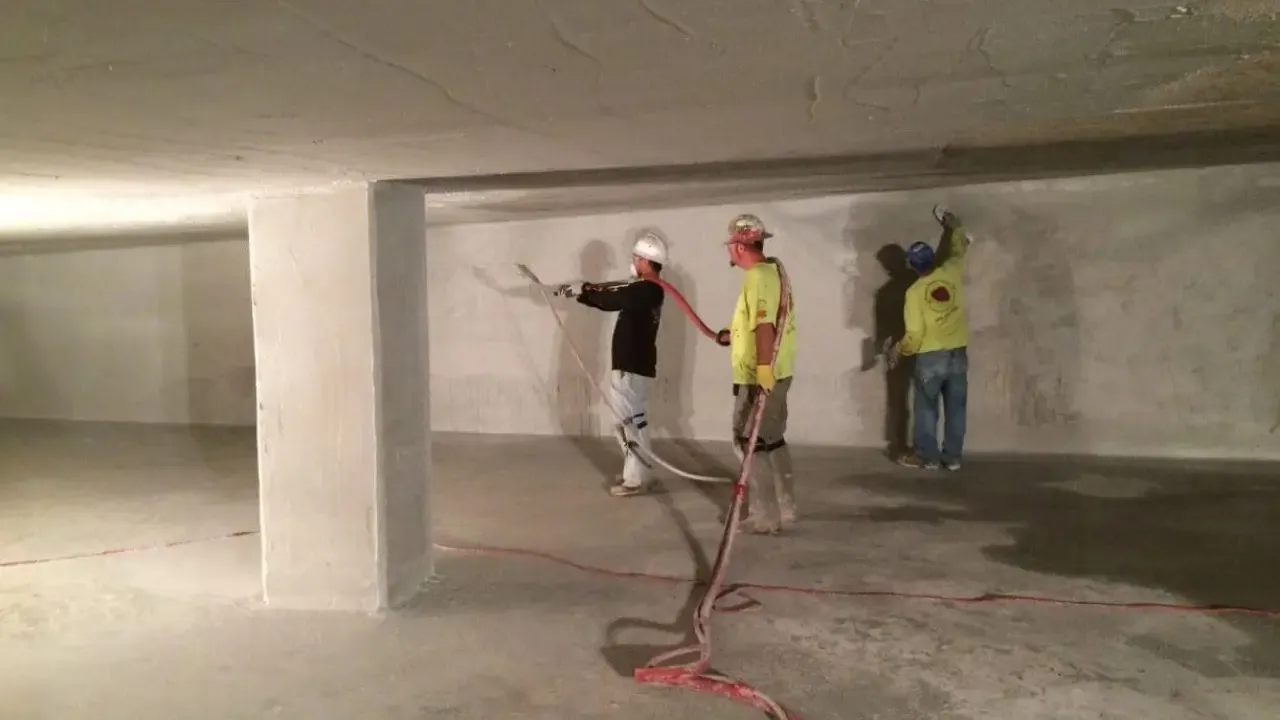
Negative side waterproofing refers to the application of waterproofing systems on the interior surfaces of structural elements when water infiltrates from external sources such as groundwater, rainwater, or soil moisture.
The term “negative” refers to the opposite direction of water flow. The goal is to create a durable and pressure-resistant barrier on the inner surface that prevents water from entering occupied spaces.
4. Areas of Application
Negative waterproofing is commonly used in areas where external intervention is difficult or not feasible. These include:
- Basement walls and floors
- Foundation walls
- Elevator shafts
- Shelters and underground facilities
- Parking garages and underground structures
- Internal surfaces of water tanks
- Structures exposed to high groundwater levels
- Historical buildings or adjacent constructions
In such cases, excavation or external waterproofing is either too costly or technically impractical.
5. Systems Used in Negative Waterproofing
Standard waterproofing materials are often insufficient under negative water pressure. Therefore, specialized systems must be used:
5.1 Crystalline Waterproofing Systems
- Penetrate deeply into concrete capillaries
- React with water to form insoluble crystals
- Seal pores, microcracks, and voids
- Offer long-term self-healing properties
5.2 Polymer-Modified Cementitious Coatings
- Provide strong adhesion to substrates
- Offer flexibility and crack-bridging capability
- Resist negative hydrostatic pressure
- Form a continuous protective layer
5.3 Injection Systems (Polyurethane / Epoxy)
- Used for active water leaks
- Injected under pressure into cracks and voids
- Expand or cure to block water pathways permanently
- Provide localized and effective solutions
6. Application Process: Step-by-Step
The performance of negative waterproofing systems depends heavily on proper application:
6.1 Surface Preparation
- Remove existing coatings and weak layers
- Mechanically clean and roughen the surface
- Eliminate dust, oil, and contaminants
6.2 Crack and Surface Repairs
- Fill cracks and voids with repair mortars
- Treat cold joints and structural defects
- Stop active leaks using rapid-setting materials
6.3 Priming and Surface Conditioning
- Saturate the surface with water if required
- Apply bonding primers where necessary
6.4 Application of Waterproofing Layers
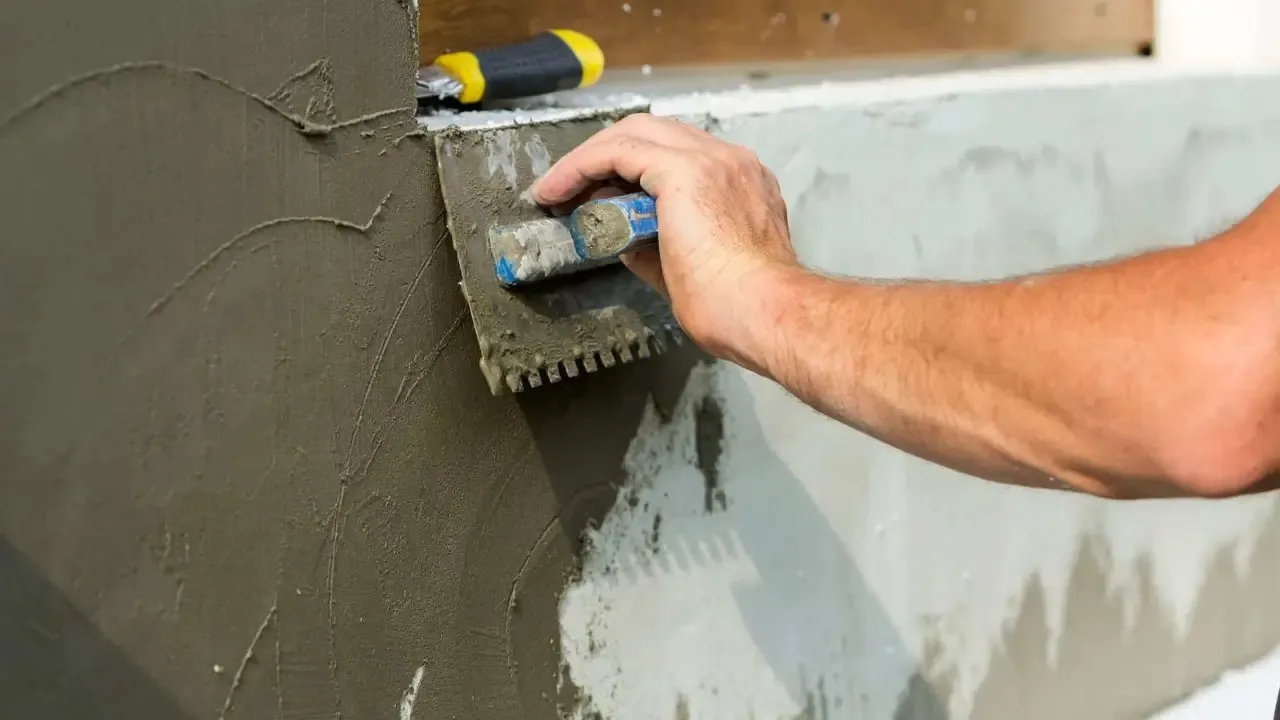
- Apply materials using brush or trowel
- Use at least two coats
- Apply each coat perpendicular to the previous one
6.5 Curing Process
- Keep the surface moist after application
- Ensure proper curing for 3–5 days
7. Advantages of Negative Waterproofing
- Ideal for existing structures
- No need for excavation or external work
- Cost-effective solution
- Suitable for confined or inaccessible areas
- Effective against active leaks
- Some systems offer self-healing capabilities
8. Limitations and Considerations
- Not as comprehensive as positive waterproofing
- Structural elements may still be exposed to moisture
- Incorrect material selection leads to failure
- Requires skilled and experienced application
- Surface preparation is critical for performance
9. When is it Necessary?
Negative waterproofing becomes essential in the following cases:
- No access to the exterior surface
- Adjacent buildings prevent excavation
- Historical structures with restricted intervention
- High groundwater levels
- Urgent situations with active water leakage
10. Conclusion and Evaluation
Although often considered a secondary solution, negative side waterproofing can deliver highly effective results when properly designed and applied. It is especially valuable in existing structures where external waterproofing is not feasible.
By controlling water ingress from the interior, it helps prevent structural damage, protects indoor environments, and reduces long-term maintenance costs.
Best Practice: Whenever possible, combining both positive and negative waterproofing systems provides the most reliable and long-lasting protection.