


Chamfer Band

What is Waterproofing Chamfer Tape and What Are Its Core Features?
Engineered for waterproofing structural joints, this highly elastic chamfer and joint tape is manufactured from a thermoplastic elastomer (TPE) core, further reinforced with a polyester mesh along its edges.
What Are the Main Benefits of Using It?
- Delivers exceptional flexibility thanks to its highly elastic composition.
- Guarantees a rapid and straightforward application process.
- Demonstrates remarkable durability against chemical exposure.
- Stands strong against harsh weather, physical impacts, bending, and ultraviolet (UV) radiation.
- Easily cut to desired lengths and compatible with hot air welding, making it universally applicable across diverse waterproofing scenarios.
- The perforated edges facilitate effortless mechanical anchoring.
- Maintains continuous elasticity to effortlessly accommodate and absorb structural movements.
Where Is It Typically Applied?
- Corner joints and chamfers within wet areas like bathrooms and kitchens.
- Water treatment facilities and swimming pool structures.
- The internal corners and chamfers of water storage tanks.
- Flexibly bridging and sealing cold joints or structural cracks found in retaining walls and floor slabs.
- Roof termination details and open terrace insulations.
- Balcony structures and parapet walls.
How to Prepare the Surface Before Installation?
The installation substrate must be absolutely clean, dry, sound, and smooth. Any substances that could compromise adhesion—such as oil, dust, old paint, detergent residues, or dirt—must be completely eradicated. If the surface exhibits cracks or damage, these areas must be fully restored using an appropriate repair mortar a minimum of 24 hours prior to the tape application.
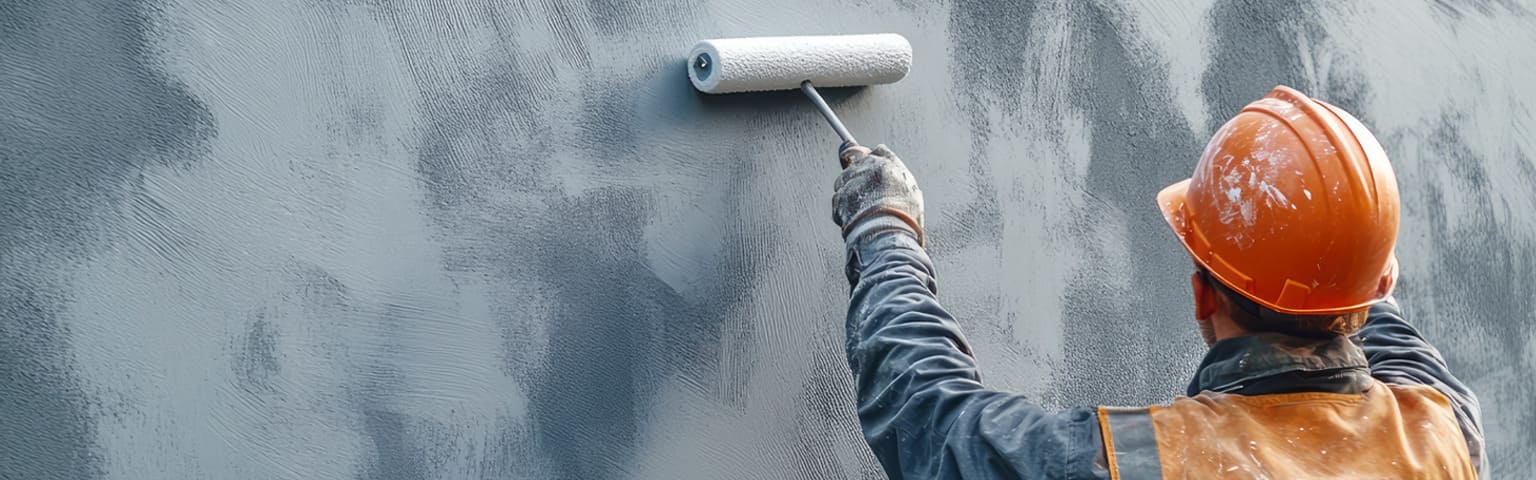
What Are the Application Steps?
Before initiating the waterproofing procedure, cut the chamfer tape to precisely match the dimensions of the target area. Next, apply a generous initial layer of the liquid-based waterproofing membrane to ensure the tape embeds properly. Immediately lay the tape over this wet layer, pressing it down so it is fully submerged in the material. Once this first coat has completely cured and dried, finish the process by applying the subsequent waterproofing layers.
Crucial Safety Precautions
- Always wear suitable protective equipment (e.g., safety glasses, gloves) during the installation.
- Carefully read the product's technical data sheet and instructions prior to use.
- Keep the material strictly away from open flames and high heat.
- Store securely out of the reach of children.
Packaging and Storage Conditions
The product is supplied in 50-meter rolls. It can be safely stored for up to 5 years in its unopened, original packaging, provided it is kept in a cool, dry place away from freezing temperatures. Avoid stacking pallets on top of each other during long-term storage.
Technical Data and Performance Metrics
| Property | Value |
| Chemical Composition | TPE (Thermoplastic Elastomer) integrated with Polyester mesh |
| System Width | 120 mm |
| Material Thickness | 0.60 mm |
| Operating Temperature | -40 °C to +90 °C |
| Water Pressure Resistance | 1.5 bar |
Vital Points to Remember During Application
- Avoid applying the product in environments with extreme heat.
- The insulation tape must be firmly embedded into the waterproofing chemical while the membrane is still wet.
- Ensure the tape is completely covered by the waterproofing material after placement.
- Do not install on surfaces subjected to strong winds or direct, intense sunlight.
- Never apply on substrates that have been exposed to frost or rain within the preceding 24 hours.
The Function and Importance of Chamfer Tape in Waterproofing
Acting as a critical reinforcement element in moisture protection, chamfer tape is specifically designed to defend buildings from water damage. It is actively utilized in high-risk architectural zones like foundations, roofs, balconies, and terraces. By effectively bridging potential cracks at structural intersections and corners, it decisively blocks water from seeping into lower layers. Consequently, this not only maximizes the structural lifespan of the building but also prevents frustrating indoor issues such as humidity, dampness, and mold proliferation.
The primary reason it provides such a long-lasting defensive shield is its high flexibility and shape retention. Its robust structure, capable of defying severe weather conditions, paves the way for flawless exterior isolation. By offering strong adhesion and ease of assembly, it saves significant labor time while instilling confidence through its leak-proof performance. Furthermore, by eliminating future water damage repair costs and contributing to energy efficiency, this product stands out as an eco-friendly staple in modern construction practices.
Step-by-Step Guide to Installing Chamfer Tape
To ensure absolute watertightness, the flawless performance of chamfer tape—especially at joints and corners—relies heavily on proper workmanship. The ideal application phases and required tools to maximize the system's longevity are detailed below:
Materials Required for the Process:
- Industrial vacuum, cleaning cloth, or stiff brush for surface prep.
- High-quality repair mortar for fixing damaged sections.
- Liquid-applied (brushable) waterproofing chemical.
- Chamfer tape, precisely pre-cut to the project's dimensions.
- Insulation roller or brush for spreading the membrane.
Professional Installation Steps:
- Surface Cleaning and Preparation: The foundation of a successful application is proper surface preparation. Dirt, dust, peeling paint, or detergent residues that might disrupt adhesion must be entirely eliminated. Substrates with cracks or hollows must be smoothed out with repair mortar at least 24 hours beforehand, allowing the surface to dry completely.
- Measuring and Cutting the Tape: The insulation tape must be cut with millimeter precision according to the corner turns and the total length of the application line. It is crucial that the tape is neither too short nor excessively long enough to cause wrinkling.
- Applying the First Waterproofing Coat: To balance the substrate's absorption and create an adhesive bed for the tape, apply a generous first coat of the liquid waterproofing membrane. Ensure this wet layer is distributed evenly across the surface.
- Positioning the Tape: While the applied waterproofing material is still wet, carefully set the prepared tape onto the surface. Align it perfectly with the corners, press it firmly down to embed it into the material, and ensure absolutely no air bubbles remain trapped beneath the tape.
- Closure and Second Coat Application: Wait for the initial coat to release its moisture and fully cure (dry). Once dry, apply a second coat of the waterproofing material in a way that completely conceals the tape. This method traps the tape between two waterproof layers, achieving maximum sealing efficiency.
- Final Inspection: Upon completion, review the entire treated area. If there are any exposed spots or application defects, address them immediately to confirm the creation of a uniform, secure, and impenetrable insulation barrier.
Our team will contact you as soon as possible to offer the most suitable solution for your needs.